Are you tired of struggling with your false lashes? Well, fret no more because we've got the secret weapon you've been searching for: perfect eyelash glue! Say goodbye to wonky lashes and hello to flawless flutter. In this article, we'll unveil the ultimate guide to finding the best adhesive that will keep your falsies in place for hours on end. Whether you're a lash newbie or a seasoned pro, we've got you covered with expert recommendations, tips, and tricks that'll make your lash game strong. So, grab your mascara wands and get ready to dive into the world of perfect eyelash glue!
Perfect eyelash glue is the key to achieving flawlessly applied falsies that stay put all day long. Get ready to discover the best adhesives, expert tips, and more in this ultimate guide to mastering the art of lash magic! Keep reading to level up your lash game like a pro.
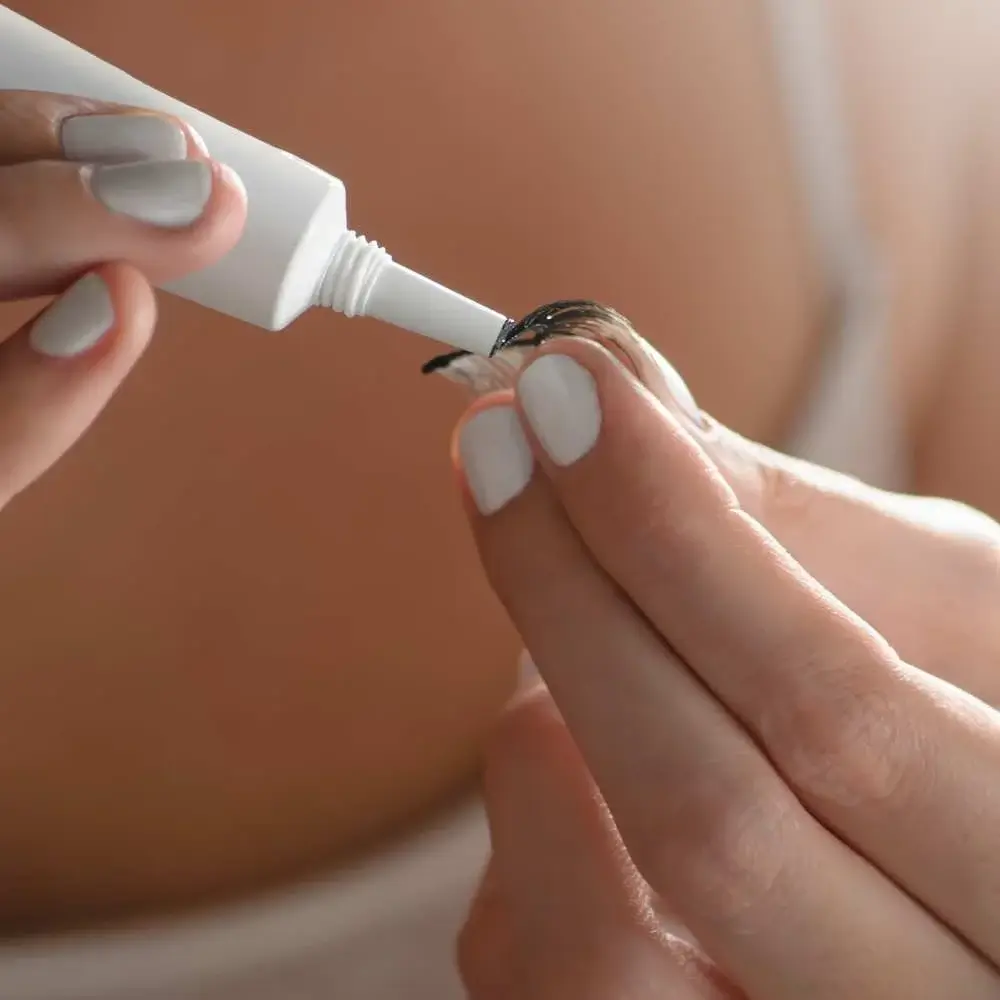
Master the Art of Lash Magic with Perfect Eyelash Glue!
Step One: Prep that Lash Line!
Getting ready to slay the lash game? You gotta start by prepping your lash line like a pro! Say goodbye to any makeup residue or oil that might get in the way. Wipe off those natural lashes with a splash of oil-free cleanser, like micellar water. Then, use tweezers to give your lash strip a quick clean-up too. Bye-bye, excess oil and debris!
Step Two: Measure, Trim, and Trim Some More!
Now, let's make sure those falsies fit like a dream. Measure the false lashes against your natural lash line, and if they're too long for your eye shape, no worries! Grab those scissors and trim them to perfection. Remember, small trims at a time, so you don't accidentally go overboard and chop off too much lash length!
Step Three: Glue It Up, Buttercup!
Time to get sticky! Squeeze a thin strip of eyelash glue onto a piece of paper or into a plastic container (let's keep things neat, shall we?). Dip one end of your lash strip into the glue, making sure it's lightly coated on both sides. No need to go crazy with the glue—just enough to make it stick like magic! Give it about 30 seconds to dry before moving on to the next step.
Step Four: Attach and Slay!
Mirror, mirror on the wall, who's got the most fabulous lashes of them all? You, of course! Look down into that magical mirror and hold up your falsies right above your natural lash line. If you've got a lash-loving friend to help, even better! Once everything's lined up perfectly, gently press those lashes down, starting from the corners. Keep pressing until they're secure and won't budge even with a light finger tap.
Voila! Applying false lashes doesn't have to be scary. Practice makes perfect, and with a little patience, you'll be rocking those fluttery lashes like a pro! So forget any worries or doubts about using adhesive—with our simple guide on how to use eyelash glue, anyone can do it effortlessly!
Oh, and let's not forget… finding the perfect eyelash glue can be like searching for a unicorn. But fear not, we've done the legwork for you! We've scoured reviews from beauty enthusiasts and sifted through customer ratings to find the ultimate winner. Say goodbye to the search and click on this link to discover the best eyelash glue on the market today. Trust us, you won't regret it!
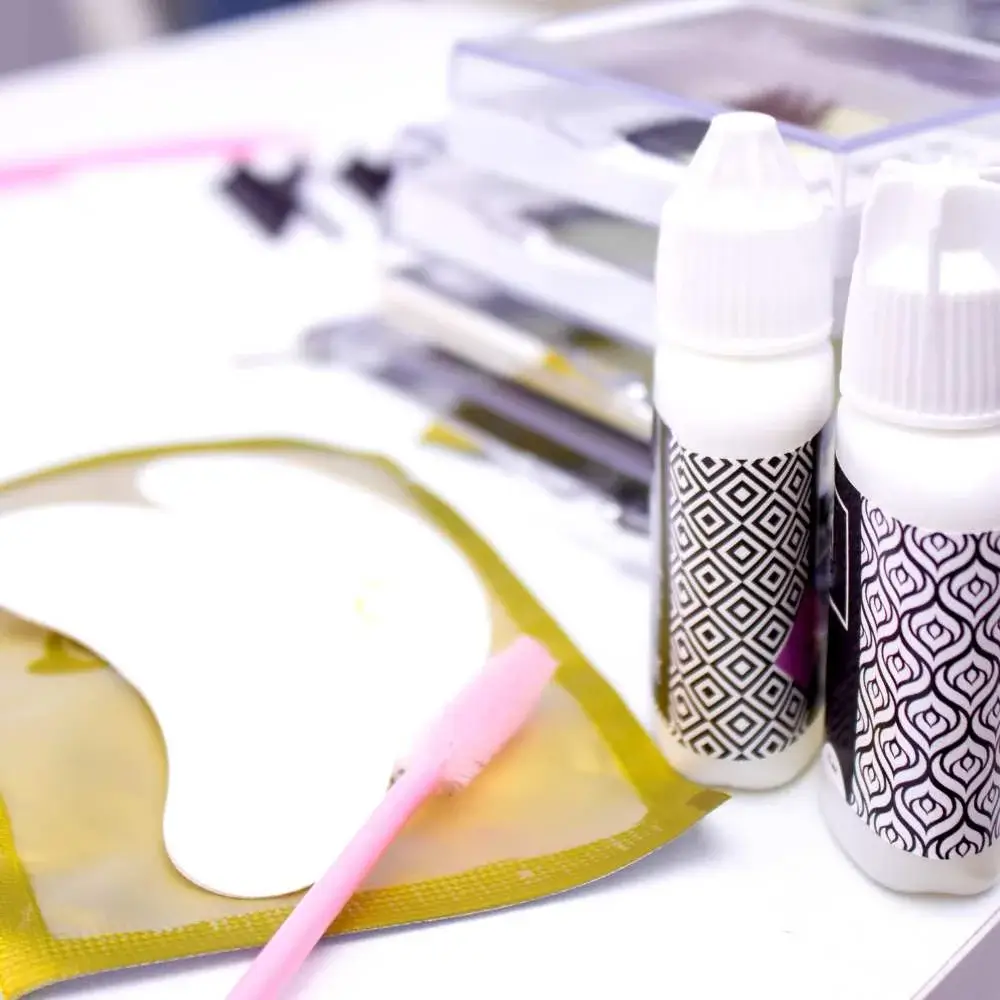
Preparing the Lash Line: The Key to Perfectly Applied False Lashes
When it comes to achieving that stunning and flawless look with false lashes, one crucial step often gets overlooked: preparing the lash line. Many of us focus solely on finding the perfect eyelash glue, but neglecting proper preparation can lead to subpar results. In this article, we will delve into the essential tips and techniques for preparing the lash line before applying false lashes, ensuring a seamless and long-lasting application.
Why is Preparing the Lash Line Important?
Before diving into the intricacies of preparing the lash line, it's important to understand why this step is crucial for achieving the perfect false lash application. Preparing the lash line effectively creates a smooth and clean canvas for your false lashes to adhere to, enhancing both their appearance and longevity. By following these simple steps, you can avoid common issues such as lifting, uneven placement, or discomfort.
Step 1: Cleanse and Remove any Residue
Start by thoroughly cleansing your face, including your eyelids and lash line, to remove any oils, makeup, or residue. This step sets the foundation for optimal adhesion and ensures that your false lashes will stick securely. Use a gentle cleanser or makeup remover specifically designed for the eye area, and be sure to rinse off any product residue completely.
Step 2: Exfoliate and Moisturize
Exfoliating the lash line gently helps remove dead skin cells and promotes healthier lash growth. You can use a soft-bristled brush or a gentle exfoliating scrub to lightly massage the area around your lashes, being careful not to irritate the delicate skin. After exfoliation, it's essential to moisturize the lash line with a nourishing eye cream or serum. This step helps keep your natural lashes healthy and primes the area for flawless false lash application.
Step 3: Shape and Curl your Natural Lashes
To ensure a seamless blend between your natural lashes and false lashes, take a moment to curl your natural lashes with a quality eyelash curler. Gently position the curler close to the lash line, hold for a few seconds, and release. This step adds extra lift and prepares your lashes for harmonious integration with the falsies.
Step 4: Apply Mascara (Optional)
While optional, applying a coat of mascara to your natural lashes before applying false lashes can provide additional support and blend effortlessly with the falsies. Opt for a lightweight and waterproof mascara formula to prevent clumping or weighing down your lashes. Remember, less is more when it comes to mascara application for this particular technique.
Step 5: Prime the Lash Line
Now that you have cleansed, exfoliated, moisturized, curled, and optionally applied mascara, it's time to prime the lash line. This step involves using a lash primer or a small amount of eyelash glue on the lash line. The purpose of the primer is to create a tacky surface that helps the false lashes adhere securely. Gently brush or dab the primer along your lash line, ensuring even coverage without excess product.
By following these five essential steps, you'll be well on your way to achieving the perfect base for applying false lashes. Remember, taking the time to prepare your lash line beforehand significantly improves the overall look and durability of your false lash application. So, next time you reach for that perfect eyelash glue, don't forget to give your lash line the attention it deserves. Your lashes will thank you, and you'll be ready to rock any occasion with stunning and flawless fluttering lashes.
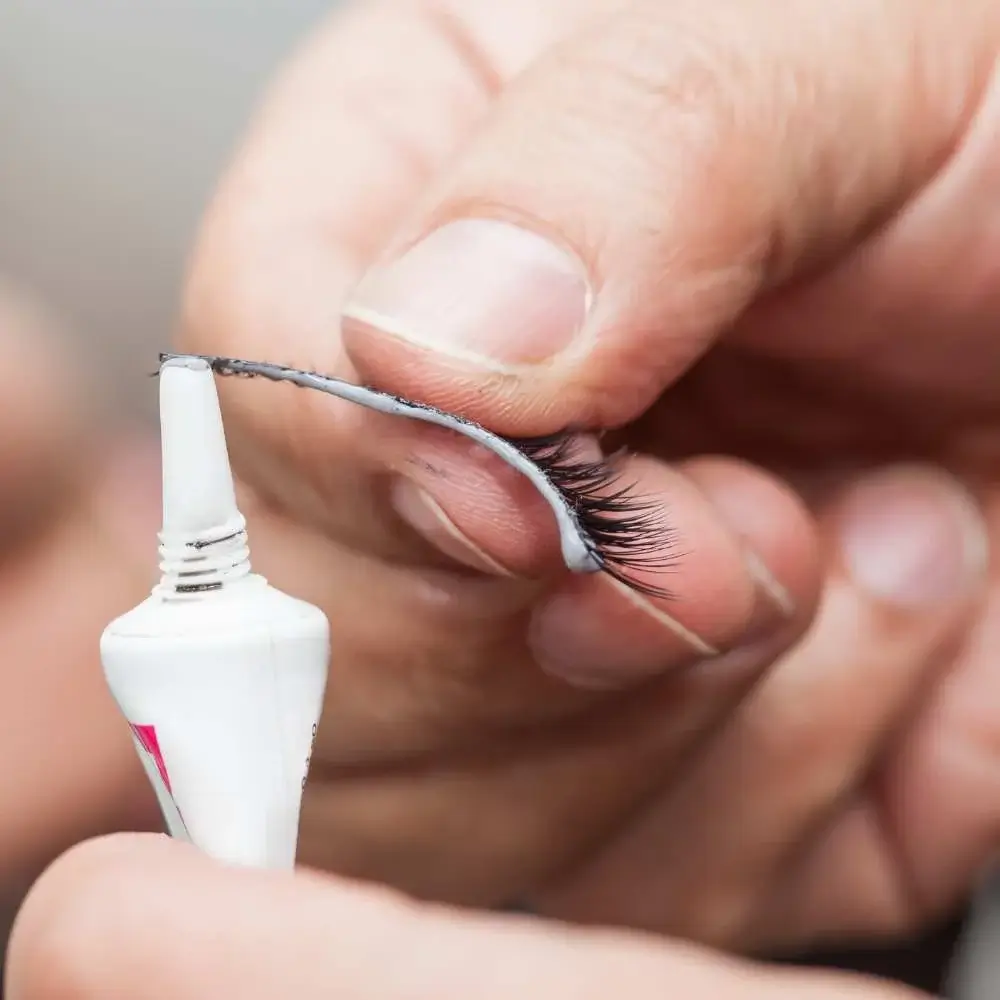
The Perfect Eyelash Glue: Measuring and Trimming False Lashes
When it comes to achieving that show-stopping flutter with false lashes, finding the perfect eyelash glue is an absolute game-changer. It's the glue that holds it all together, quite literally! But with so many options available in the market, how do you choose the one that suits your needs? In this article, we'll dive into the world of eyelash glues, uncovering the secrets to finding the perfect adhesive for flawless lash application.
The Importance of Choosing the Right Eyelash Glue
Before we delve into the nitty-gritty details, let's take a moment to appreciate the crucial role that eyelash glue plays in the overall success of your false lash application. It's the adhesive that keeps those beautiful falsies securely in place throughout the day (and night!). The perfect eyelash glue should provide strong adhesion, long-lasting wear, and easy removal, all while keeping your natural lashes healthy and irritation-free.
Measuring and Trimming False Lashes for a Custom Fit
To achieve that seamless blend between your natural lashes and falsies, measuring and trimming your false lashes to fit your unique eye shape is key. One-size-fits-all may not always be the best option when it comes to false lashes. Here's a step-by-step guide to help you achieve the perfect fit:
Step 1: Measure and Compare
Hold the false lash strip against your natural lash line and measure the length. If the strip extends beyond the outer corner of your eye, you might need to trim it for a more natural look. It's essential to compare the length of the false lash strip with your natural lashes before proceeding to trim.
Step 2: Trim from the Outer Corner
Using a pair of sharp scissors, carefully trim the excess lash strip from the outer corner. Remember, it's always better to start with a longer lash strip and gradually trim as needed. This way, you can achieve a custom fit that enhances your eye shape without sacrificing comfort.
Step 3: Curve and Flex the Strip
Before applying the adhesive, gently curve and flex the lash strip to mimic the natural curvature of your eyelid. This step helps the lashes adhere more seamlessly and prevents them from popping up or lifting throughout the day.
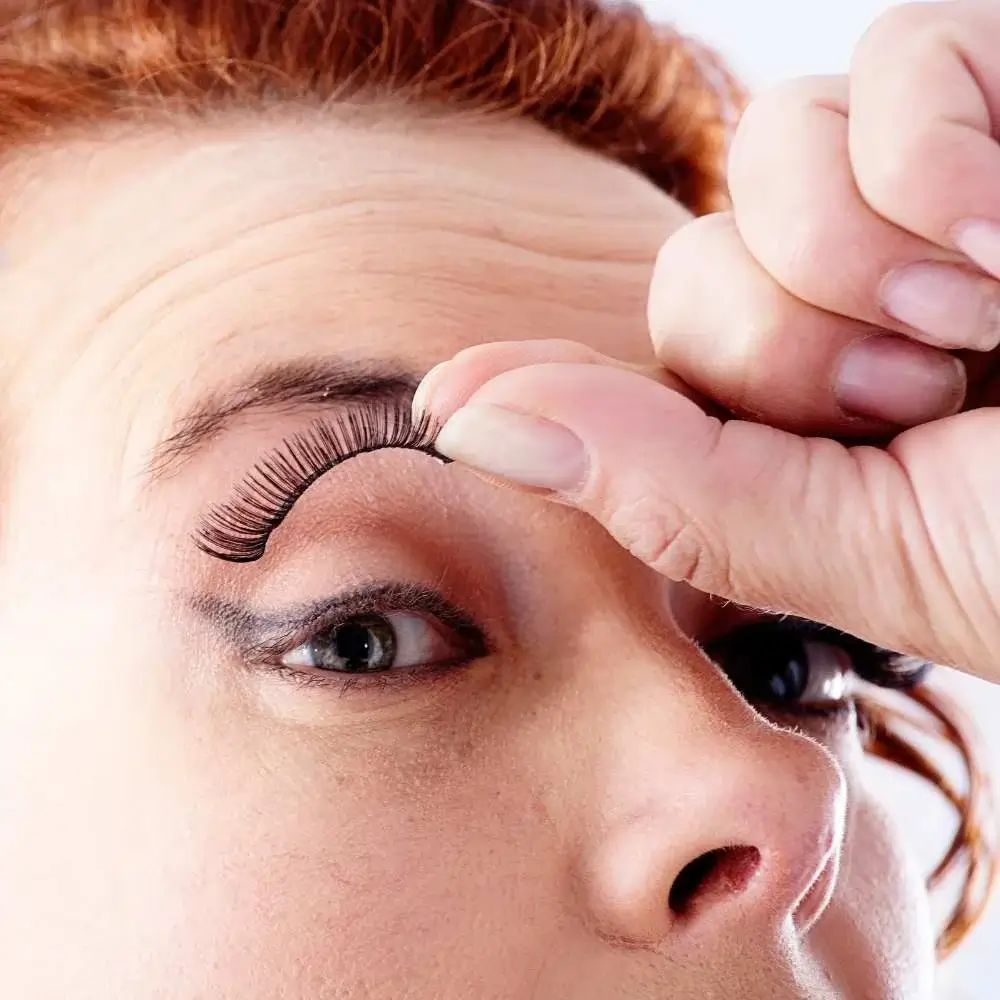
Finding the Perfect Eyelash Glue
Now that we've covered the importance of measuring and trimming false lashes, let's turn our attention to finding the perfect eyelash glue to complete the equation. Here are some key factors to consider:
1. Adhesive Strength
Look for an eyelash glue that provides a strong and reliable hold. You want your falsies to stay in place all day without any pesky lifting or shifting. Opt for glues that are specifically formulated for long-lasting wear and have a reputation for excellent adhesion.
2. Quick-Drying Formula
Nobody wants to spend ages waiting for their lash glue to dry. Choose an eyelash glue that has a quick-drying formula, allowing you to apply your lashes efficiently and get on with your day. Look for glues that dry clear to maintain a natural look.
3. Gentle and Non-Irritating
Your eye health should always be a priority, so opt for eyelash glues that are gentle and non-irritating. Look for latex-free or hypoallergenic formulas that are suitable for sensitive eyes. This way, you can enjoy stunning lashes without any discomfort or adverse reactions.
4. Easy Removal
When the day comes to bid farewell to your fabulous falsies, you want an eyelash glue that is easy to remove. Look for glues that can be dissolved or peeled off effortlessly, without causing any damage to your natural lashes.
Now that we've covered the essential steps to measuring and trimming false lashes and finding the perfect eyelash glue, it's time to put your newfound knowledge into action. With the right adhesive and properly fitted lashes, you'll be able to achieve a flawless and natural-looking finish that turns heads wherever you go.
Remember, finding the perfect eyelash glue is all about considering factors such as adhesive strength, quick-drying formulas, gentleness, and easy removal. By choosing the right glue and customizing your false lashes to fit your eye shape, you'll be well on your way to achieving the stunning lashes of your dreams.
So go ahead, unleash your inner lash diva, and let your eyes do the talking with flawlessly applied false lashes and the perfect eyelash glue. The spotlight awaits!
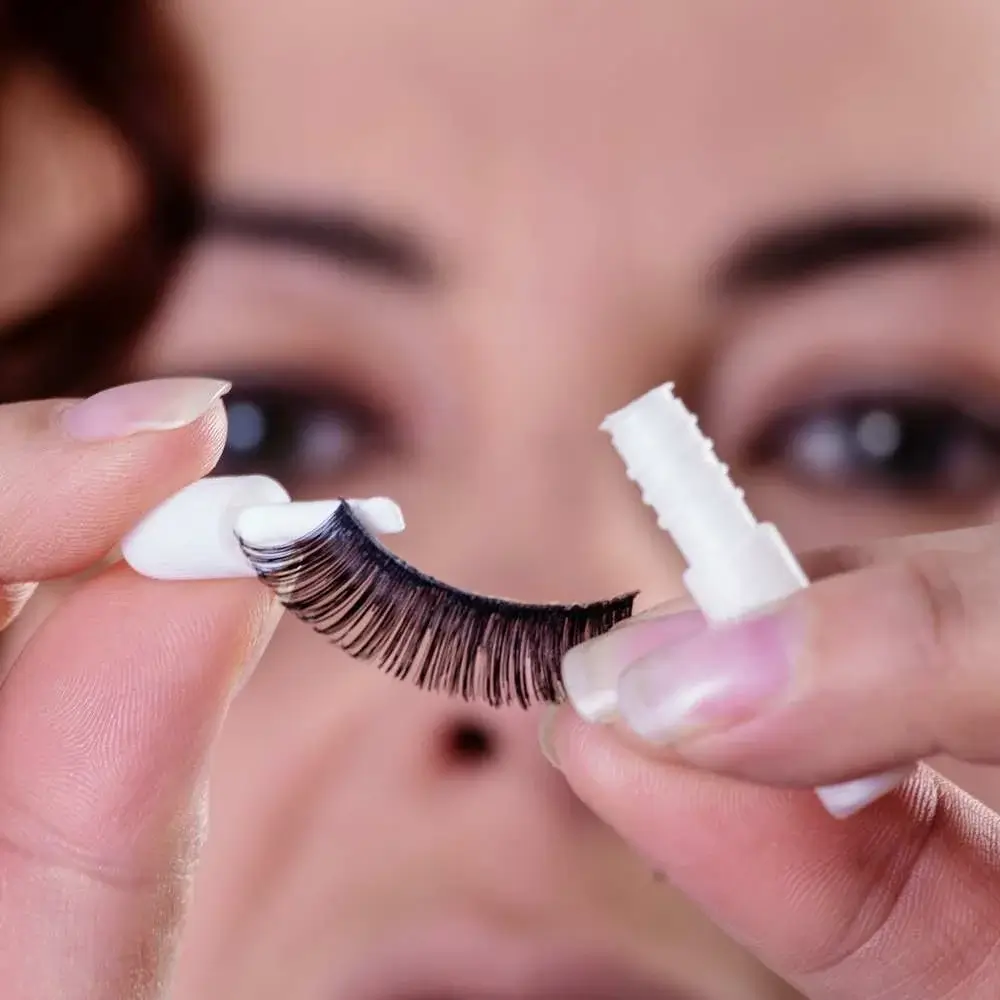
FAQs about Perfect Eyelash Glue: Your Ultimate Guide to Flawless Lashes
How do you apply eyelash glue for beginners?
Applying eyelash glue for beginners is easier than you think! First, make sure you have the perfect eyelash glue in hand. Cleanse your natural lashes and give them a gentle curl. Measure and trim your falsies to fit your eye shape like a glove. Apply a thin, even layer of adhesive along the lash band and let it get nice and tacky. Now, the fun part! Place the lash strip as close to your natural lash line as possible, pressing down gently with your fingers or a lash applicator. Voila! You're one step closer to fabulous lashes. Just remember to have patience, take your time, and be confident in your application skills. With a little practice, you'll be rocking flawless lashes that turn heads everywhere you go!
Where do you put eyelash glue on your eyelashes?
When it comes to applying eyelash glue, you want to be precise and strategic. Grab your trusty perfect eyelash glue and get ready to slay those lashes! Here's the scoop: carefully apply a thin, even layer of glue along the lash band, that little strip where the lashes are attached. Be sure not to go overboard with the glue (we don't want any sticky situations). Now, take a moment to let the glue get nice and tacky. This will help ensure a secure application that lasts all day and night. So, channel your inner artist and aim for accuracy as you place the lashes as close to your natural lash line as possible. Press down gently to make sure they're snug and secure. And just like that, you're on your way to rocking fabulous lashes like a total pro! Get ready to flutter and slay, my friend!
What is the trick to putting on fake eyelashes?
Oh, the secret to flawless falsies? I've got you covered! Get ready to unleash your inner glam goddess with these awesome tips for putting on fake eyelashes. First things first, grab your perfect eyelash glue and let's get sticky! Trim those lashes to fit your eye shape like a boss. Now, here's the trick: apply a thin layer of glue along the lash band, making sure it's evenly distributed. Let it sit for about 30 seconds until it gets nice and tacky. Then, using tweezers or a lash applicator, position the lashes as close to your natural lash line as possible. Press and hold gently to secure them in place. Want an extra boost? Use an eyelash curler to blend your real and falsies together. And there you have it! With a little practice and a touch of confidence, you'll be rocking those stunning lashes and turning heads wherever you go. Get ready to bat those beauties, gorgeous!
Why won't my fake eyelashes stick?
There could be a few reasons why your fake eyelashes aren't sticking like glue. First things first, make sure you're using the perfect eyelash glue that suits your needs. Check the expiration date too - we want it fresh and fabulous! Next up, give your natural lashes a good cleanse and make sure they're oil-free. Oil can be the enemy of adhesive, so keep those lashes squeaky clean! Now, here's a helpful tip: apply a thin, even layer of glue along the lash band and let it get nice and tacky before applying. Sometimes, rushing can lead to a less-than-stellar stick. And lastly, check your lash placement. Are you applying them as close to your natural lash line as possible? That's the sweet spot! If all else fails, don't panic. Practice makes perfect, and with a little patience and persistence, you'll be rocking those lashes with confidence in no time. Keep your chin up, gorgeous, and let's give those lashes another try!
How long does it take for eyelash glue to dry?
Time is of the essence when it comes to eyelash glue, but fear not, we've got all the deets right here. So, how long does it take for that magical adhesive to dry? Well, it's a bit like waiting for your favorite song to come on - anticipation is part of the fun! Typically, most eyelash glues take around 30 seconds to 1 minute to dry and get nice and tacky. That way, when you apply those fabulous falsies, they stay put like a boss! But remember, patience is key, my friend. Rushing can lead to a less secure hold, and nobody wants their lashes to fly away mid-conversation. So, take a deep breath, do a little dance, and give that glue some time to work its magic. And before you know it, those lashes will be ready to rock and slay! Get your glitter on, gorgeous, because the lash game is about to get fierce!
Read our article about best conditioner for color treated hair here!
Read our article about best tweezers for eyebrow here!
Read our article about best toner for acne here!


