Hey, there nail polish connoisseurs! I see you there, meticulously scouring the internet, on a quest to find the perfect professional gel nail polish. Well, I've got news for you: your journey ends here. Yep, you heard it right - here's where your mission completes, with a victorious, glossy finish.
You see, when it comes to your nails, it's more than just color; it's about self-expression. It's about strutting your stuff in a boardroom or simply turning your living room into a personal runway. And let's be real - when your nails look good, you feel good. That's just the circle of life, or should I say, the circle of lacquer?
But, let's be clear: Not all gel nail polishes are created equal. We've all been there, attracted by a hypnotically vibrant bottle on a salon shelf or a web page, only to find it chipping away after a day or two. Or worse, turning your nails into a dry, brittle wasteland. A true tragedy, my friends.
Choosing the right professional gel nail polish is like choosing a lifelong companion - it's a commitment, it's personal, and it needs to be reliable (unlike my ex, but hey, we're not here to talk about that). Whether you're an at-home-manicure queen or a salon regular, picking the right gel polish can be the difference between nails that scream "nailed it!" and a frustrating experience that leaves you questioning your life choices.
So buckle up, and keep your eyes peeled, because we're about to dive deep into the world of professional gel nail polish. Here's to making your nail dreams come true!
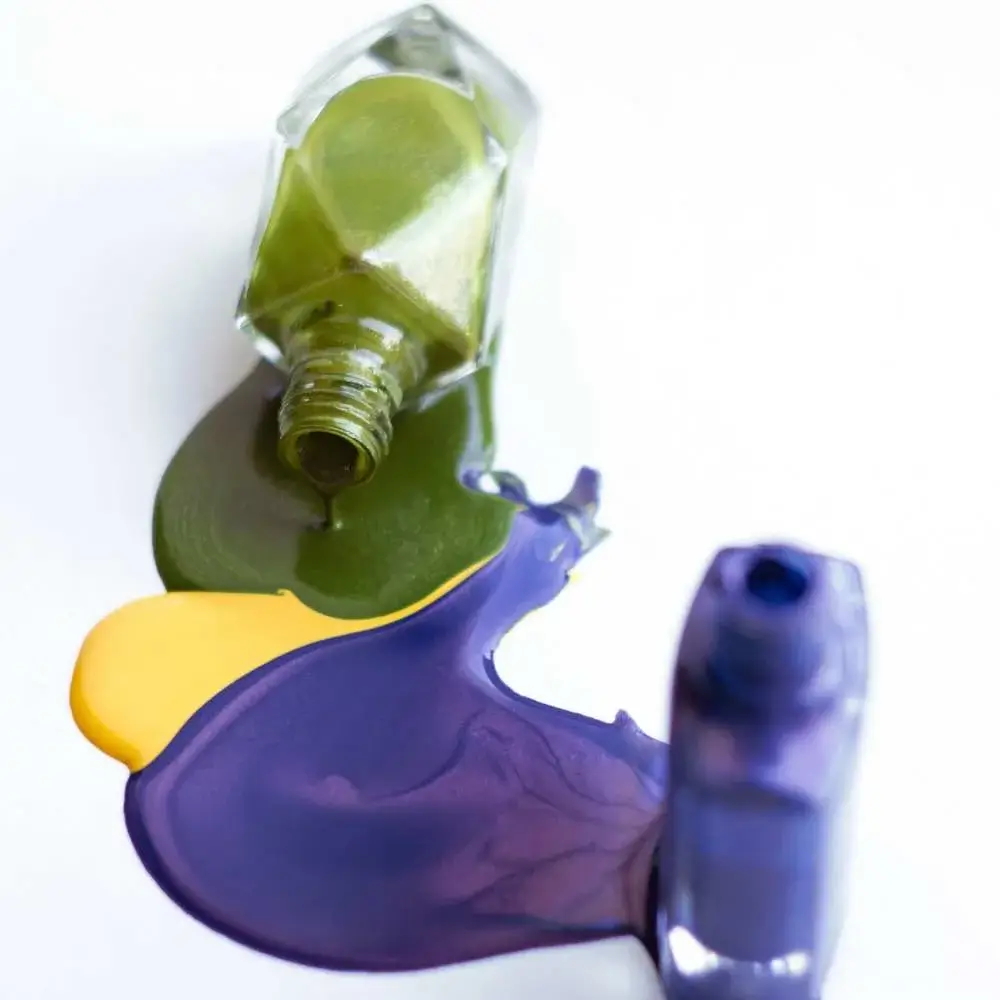
Factors to Consider When Choosing Professional Gel Nail Polish
Alright, now that we're all jazzed up about transforming our nails into miniature masterpieces, let's talk about what we should look out for when buying professional gel nail polish. It's not just about picking a pretty bottle - there's more to this story, folks.
Quality and Durability
When it comes to gel nail polish, quality is queen. You want a polish that's as durable as your favorite pair of jeans - you know, the ones that fit just right and can withstand everything from an impromptu dance-off to an existential crisis. Look for a formula that's rich, smooth, and doesn't leave streaks faster than a tabloid paparazzo.
Color Range and Finish
Ah, colors - the spice of life and the soul of nail polish. A good professional gel polish range should be like a well-stocked candy shop: full of delectable options that make you feel like a kid again. Look for brands offering a broad spectrum of colors, from those sultry deep reds to pastel pinks, fierce neon to elegant nudes. And let's not forget the finishes! Matte, glitter, metallic... the world is your oyster (or should I say, your nail?).
Application and Removal Process
Unless you enjoy laboring over your nails like a Renaissance artist, you want a gel polish that's easy to apply and just as easy to say goodbye to. Look for brands that glide on smoothly without needing a thousand coats and those that can be removed without an industrial-grade sandblaster or bargaining with a genie.

Longevity and Chip Resistance
If your freshly manicured nails start chipping faster than you can say "gel nail polish," then, darling, we've got a problem. The beauty of gel polish is that it's meant to last - think of it as the marathon runner of the nail world. Look for polishes that promise at least two weeks of chip-free existence (and deliver on that promise!).
Brand Reputation and Ingredients
Like your favorite latte, what goes into your gel nail polish matters. Pay attention to the ingredients and opt for brands that avoid harmful chemicals. Do a quick Google search to see what others are saying about the brand, because reputation matters, folks!
Price and Value for Money
Lastly, let's talk dollars and cents, honey. While we all love a little splurge now and then, it's important to find a gel nail polish that gives you more bang for your buck. Consider the quality, durability, and range of options before making it rain on that shopping cart.
So, ready to make your nail polish shopping a whole lot smarter? Let's dive into the wonderful, glossy world of professional gel nail polishes, shall we?
Our List of the Top Products in This Category
- Beetles Neutral Gel Nail Polish
- essie Gel Couture Longwear Nail Polish
- Modelones Gel Nail Polish Set
- VENALISA 15ml Gel Nail Polish
- Vishine Nude Gel Polish Kit
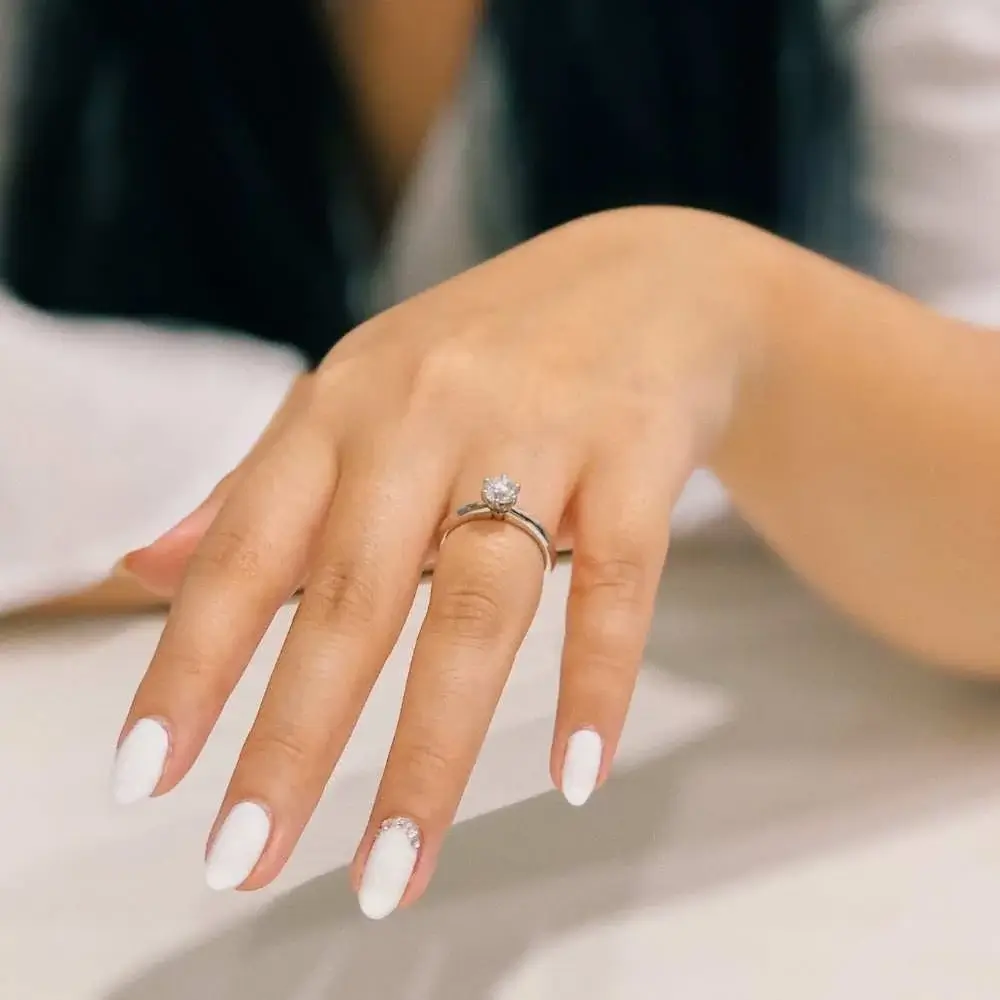
How to Apply Professional Gel Nail Polish for Long-Lasting Results
So you've found your perfect gel polish, a shade that's more 'you' than your own DNA. Now comes the fun part - making magic happen on your fingertips. Ready for a step-by-step journey into the realm of flawless application? Let's get our nail game on, people!
Preparing Your Nails
First things first, we need to prep your nails, a bit like prepping a canvas before a painting spree. Start with clean, dry nails - free from old polish or any oily residue. A quick swipe with a nail polish remover should do the trick. Then, gently file your nails into your preferred shape. Remember, be kind to your nails! No harsh sawing, please. Once you've got the shape, gently buff the surface to remove any ridges and create a smooth base.
Applying the Base Coat
Now that your nails are primed and ready, let's lay the foundation - the base coat. This trusty layer serves as the primer for your color coat, enhancing adhesion and preventing staining. Apply a thin, even layer of the base coat. Remember, too much can lead to peeling and bubbles, and we're not about that life.
Applying the Color Coat
Next up, the star of the show - the color coat! Using the brush, apply a thin layer of your chosen gel nail polish, taking care not to flood your cuticles. We're painting nails, not skin, right? Apply the polish in three strokes: one down the middle, then one on each side. Remember, less is more at this stage; we're aiming for thin, even coats.
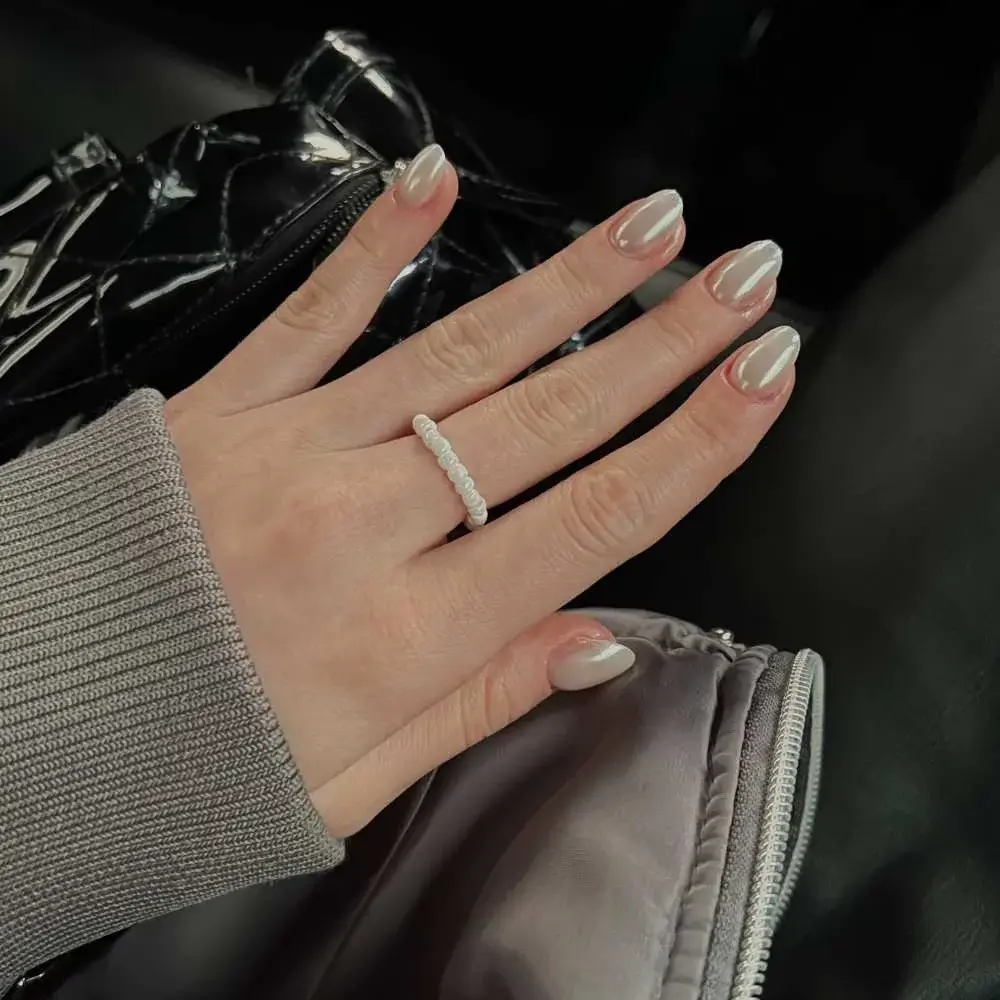
Curing the Polish
Now, let's set that gorgeous color with a bit of curing. Pop your nails under a UV or LED lamp to harden the polish. How long, you ask? Well, that depends on your lamp and the instructions provided by your Polish brand. But it's usually around 30 seconds for LED lamps and 2 minutes for UV lamps.
Applying the Top Coat
We're almost there, folks! It's time to seal the deal with the top coat. The top coat protects your color coat, adds shine, and helps your manicure last longer. Much like the base coat, apply a thin, even layer across each nail. Then, it's back under the lamp for one more round of curing!
Finishing Touches and Maintenance
Whew! Look at you, rocking those freshly painted nails! For the finishing touch, wipe off the sticky residue left on your nails using a lint-free wipe soaked in alcohol. This reveals the true color and shine of your gel polish. To keep your nails looking fresh, use cuticle oil daily, and wear gloves when doing rough chores.
There you have it, folks, your very own salon-quality manicure right at your fingertips. Go forth, flash those nails, and remember, you've 'nailed' it!
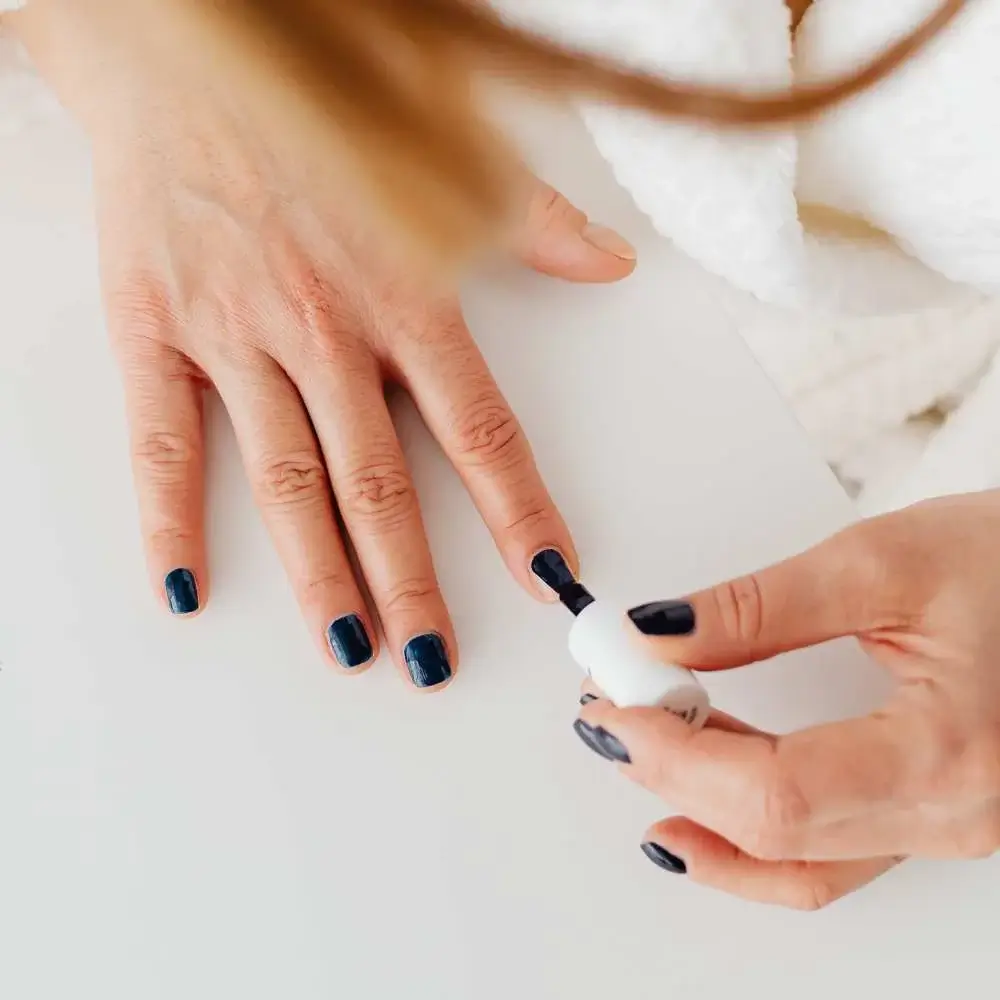
Tips for Safe and Easy Removal of Gel Nail Polish
The sun has set on your beautiful gel manicure, and it's time for it to gracefully exit the stage. But fear not! The farewell can be just as smooth as the entrance, provided we take the right steps. Yes, friends, it's possible to remove gel polish without declaring war on your nails. Let's get to it, shall we?
Preparing Your Nails for Removal
Before we dive in, let's get a few essentials ready. You'll need acetone (your new BFF in this process), cotton balls or pads, aluminum foil, a nail file, and some cuticle oil for aftercare. Got 'em? Great! Now, gently file the top layer of your nails. This isn't about reshaping; we're just breaking that top coat seal to let the acetone do its magic.
Soaking and Wrapping Method
Next, we're going to give your nails a little spa treatment. Soak a cotton ball or pad in acetone, place it on your nail, and then wrap it with a small piece of aluminum foil. This foil-wrapped mini alien hand might seem silly, but trust me, it's worth it. Repeat this for all your nails and let them soak for about 15 minutes. A little Netflix while you wait, perhaps?

Gentle Removal Techniques
After your soak, it's time for the big reveal. Gently press and twist the foil-wrapped cotton to remove the gel polish. The key word here is 'gentle,' my friends. No scraping or harsh pressure. If some stubborn polish is holding on for dear life, rewrap and soak for a few more minutes.
Nourishing and Caring for Your Nails
Congrats, you've successfully removed your gel polish! But we're not done just yet. It's time for a little TLC to restore your nails to their bare, beautiful glory. Rinse your hands, dry them, and then generously apply cuticle oil to your nails and the skin around them. This helps to replenish any moisture lost during the removal process.
Voila! You've successfully navigated the path of safe and easy gel polish removal. So remember, while the journey of a gel manicure ends, it leaves your nails ready for their next glossy adventure!

And there you have it, ladies and gents, a roller coaster ride through the glitzy, vibrant world of professional gel nail polishes.
We've talked about the ins and outs of selecting a top-notch gel polish - stressing its quality and durability, being akin to your beloved pair of jeans. We've gone head over heels over the multitude of color options, from fiery reds to soft pastels, and the different finishes that can jazz up your style.
We've underscored the significance of an easy application and removal process because nobody's got time for a polish that needs an engineering degree to apply or a jackhammer to remove.
We've chatted about the importance of longevity and chip resistance because a gel polish is supposed to be the Duracell Bunny of manicures - it keeps going and going.
We've highlighted the significance of the brand's reputation and the ingredients used so that you're not applying some shady chemical brew on your nails.
Lastly, we considered price and value for money because, while we love a luxury splurge, our wallets might feel otherwise.
We've also walked through the application and removal processes, transforming your living room into a professional nail salon. From prepping your nails to curing the polish, from saying goodbye to the gel polish to nourishing your nails post-removal - we've got you covered!
Choosing the right professional gel nail polish is crucial for a stunning and long-lasting manicure. It's not just about looking good, but about feeling good, about making a statement, about expressing your unique personality. Because, at the end of the day, your nails are a canvas, and you're the artist. So go forth, wield your brush (or polish), and create your masterpiece!
So, the next time you're confronted with the daunting wall of polishes in the store or the endless scroll on your favorite online shop, remember these tips. You've got the knowledge, now go out there and nail it!
FAQs: Navigating the Glossy World of Professional Gel Nail Polish
How long does professional gel nail polish last?
With proper application and maintenance, professional gel nail polish can last up to two weeks or more without chipping.
How do I remove professional gel nail polish?
Soak your nails in acetone using cotton balls and aluminum foil, then gently remove the loosened polish. After removal, hydrate your nails with cuticle oil.
Can I apply professional gel nail polish at home?
Absolutely! With the right tools and steps, you can achieve a salon-quality manicure at home.
Do I need a UV lamp for professional gel nail polish?
Yes, curing under a UV or LED lamp is a crucial step in the gel polish application process as it hardens the polish for a long-lasting finish.
How many coats of gel polish should I apply?
A standard application involves one layer of base coat, two layers of color coat, and one layer of top coat.
Can I mix gel polish brands?
While it's possible to mix brands, it's generally recommended to stick with the same brand for the base, color, and top coats for the best results.


