
Gel nail polish has revolutionized the world of nail art as we know it. It lasts longer than traditional nail polish and gives you an incredible gel-like shine, making your nails look polished and professional for weeks on end. But what if you want to play around with a few different colors? Is it possible to mix and match gel nail polish colors? In this blog post, we’ll explore the dos and don’ts of mixing and matching different gel nail polish colors to create a unique and beautiful nail art look.
The Importance of Choosing the Right Colors
Before we dive into the nitty-gritty of mixing and matching, it’s essential to understand the importance of choosing the right colors. Start by deciding on a color scheme that suits your style and personality. Choose colors that go well together, whether you want to go with a monochromatic look or use complementary colors. A good rule of thumb is to go for shades with the same undertone so they don’t clash or look jarring when layered on top of each other.
Experiment with Layering
Once your colors are selected, the next step is to experiment with layering. Start by applying a base coat of your chosen color and then adding a layer of the other color on top. Depending on your selected color combination, you may need several layers to achieve the desired effect. Remember, with gel nail polish, each layer must be cured under UV light before adding the next layer. So, patience is vital while layering the colors.
Creating Patterns
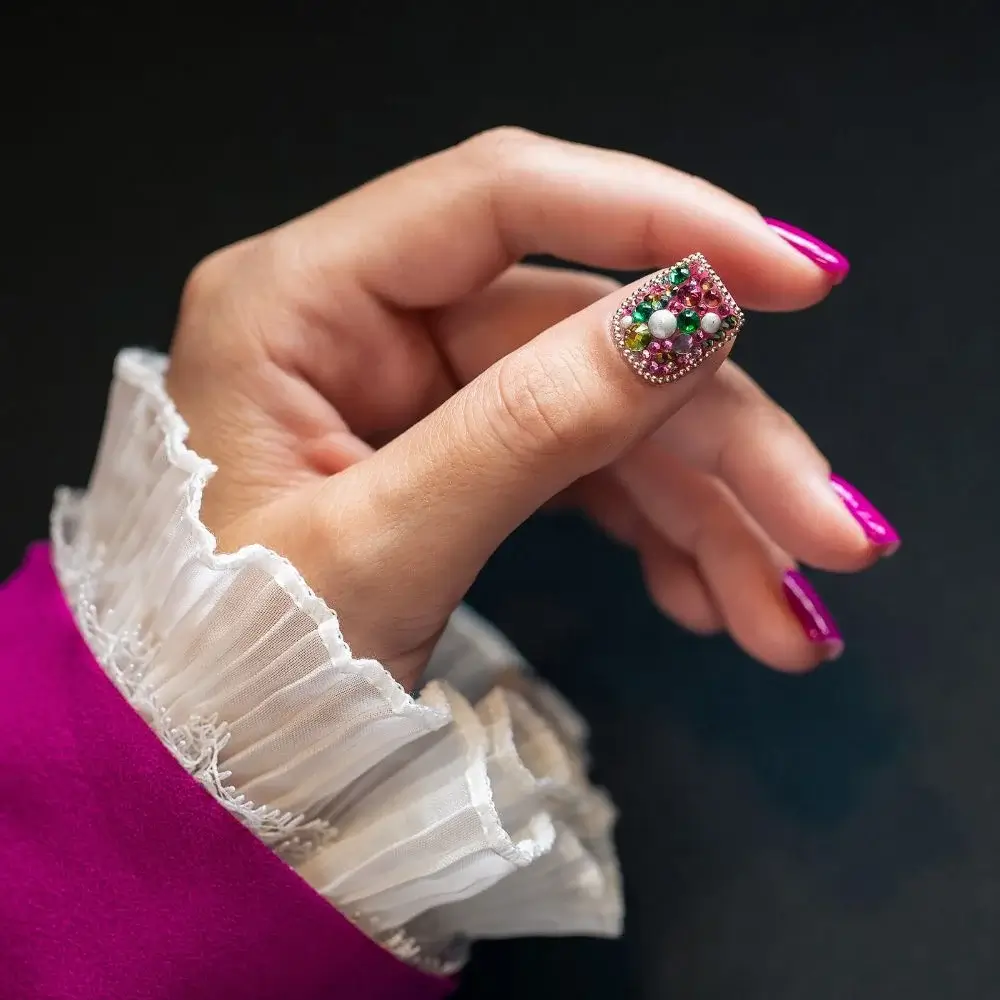
Using a nail art brush or dotting tool, create patterns by adding dots, lines, or other shapes using different shades of gel nail polish. You can use stencils or tape for sharp, clean lines, like stripes or geometric shapes. This will give your nails a unique and quirky edge. Just ensure you wait for each layer to dry before adding the next one so the colors don’t smudge and mix.
Mixing Colors
You can also do that if you’re bold and want to mix the colors. Blend the two colors using a toothpick or a fine brush to create a gradient effect or an ombre look. Remember that blending two colors may change the original shade, so practice on a nail art palette before trying it out on your nails.
Don’t Overdo It
While experimenting and trying out different colors is fun, don’t overdo it. Too many colors at once can look overwhelming and busy, making the whole look fall apart. Start with two or three colors, then gradually add more if needed. Always keep your style and taste in mind so the result makes you feel confident and beautiful.
Mixing and matching gel nail polish colors is a fun and creative way to take nail art to the next level. You can create a unique and beautiful look by choosing the right colors, experimenting with layering, creating patterns, mixing colors, and not overdoing them. So, go ahead and try out different color combinations and unleash your creativity. You might end up creating the next big nail art trend!
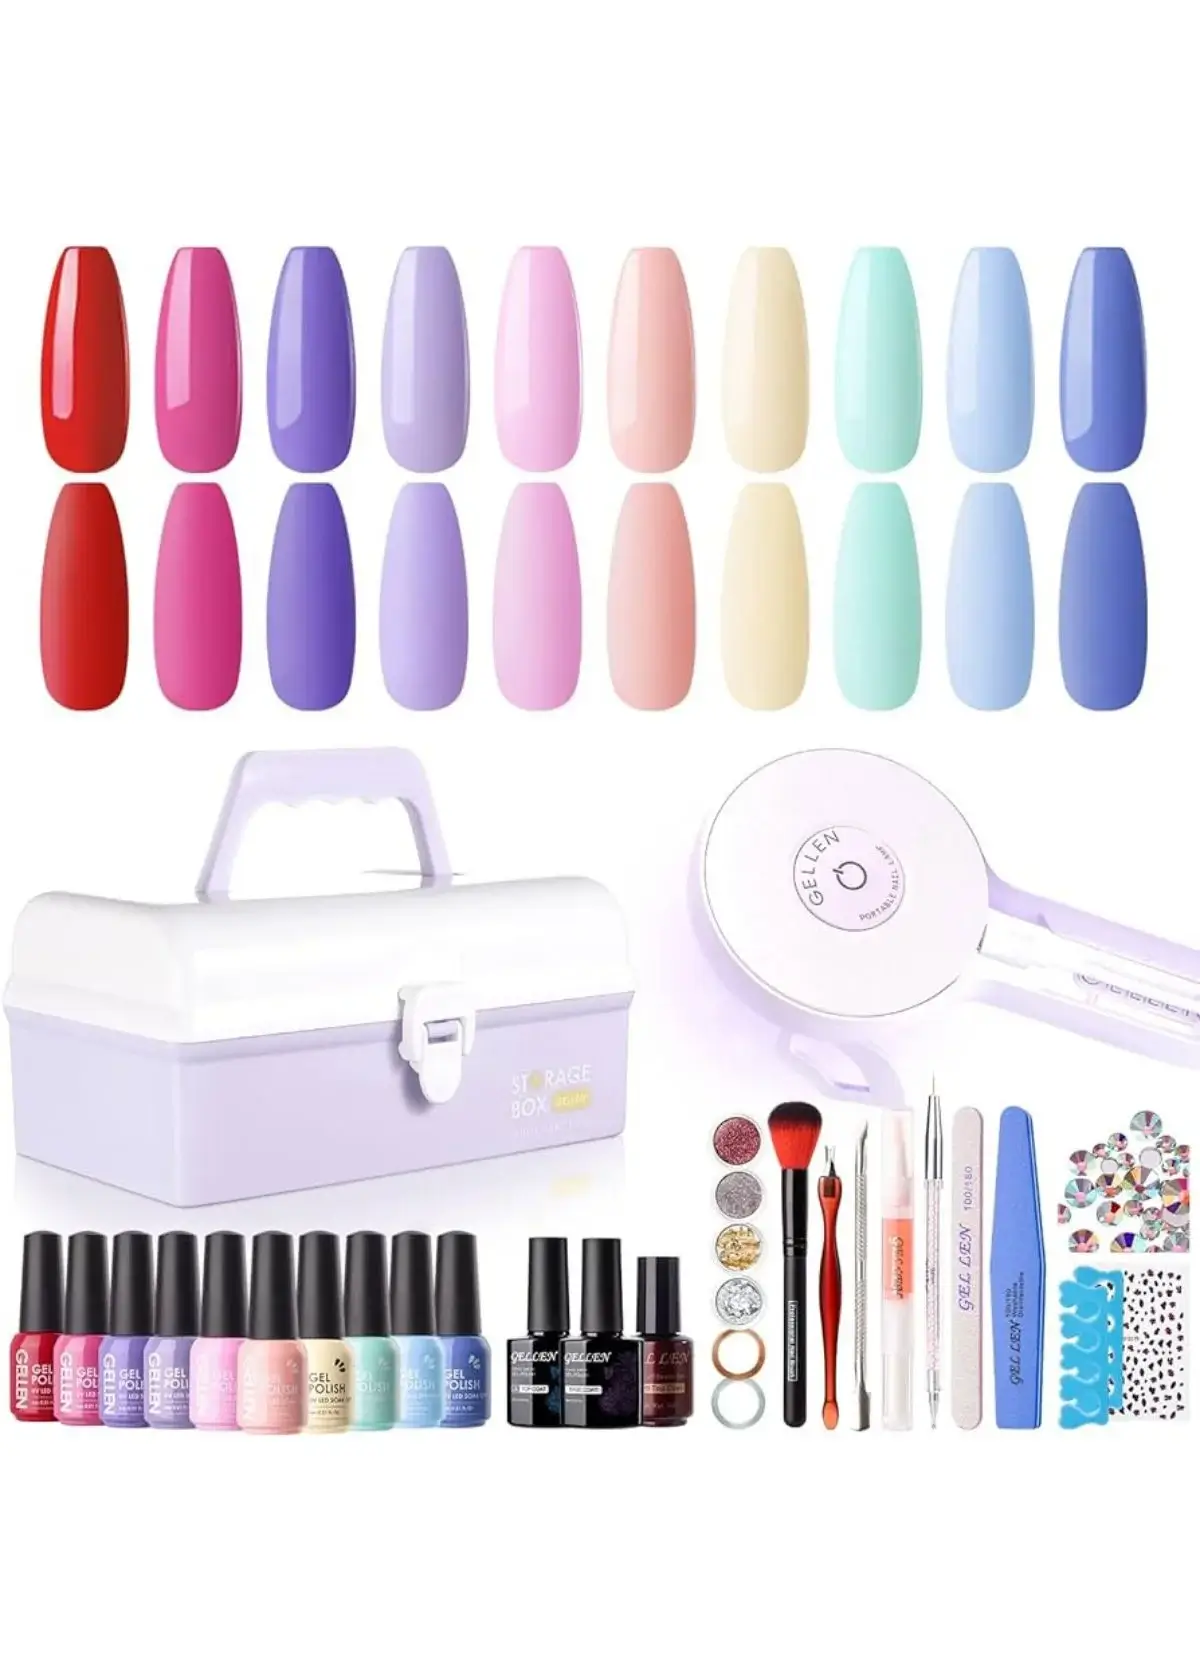
Finding the best at-home gel manicure kit is vital if you're looking for a long-lasting and salon-quality manicure. With so many options on the market, doing your research can be overwhelming. After all, you want to ensure you're investing in a product that delivers, is easy to use, and doesn't break the bank. Luckily, we've done the hard work for you and found the ultimate at-home gel manicure kits that will give your nails a professional look. With just a click of a button, you can find your new favorite kit and say goodbye to expensive trips to the salon. Follow the link to discover which kit will be your new go-to.
What is the removal process for gel nails done at home?
The removal process for gel nails done at home involves several steps to ensure the safe and effective removal of the gel polish. Begin by gently filing the top layer of the gel to break the seal, allowing the acetone to penetrate. Next, soak cotton pads in acetone, place them on your nails, and wrap each finger in aluminum foil. After approximately 10-15 minutes, the gel should start to lift off. It's crucial not to force the gel off, as this can damage your natural nails. Instead, gently push any remaining gel off the nail with a cuticle stick.

What is the recommended frequency of using an at-home gel manicure kit?
For the health and strength of your natural nails, it's advisable to space out your use of at-home gel manicure kits. Ideally, aim for 2-3 weeks between applications. This time frame allows your natural nails to breathe and recover from the previous gel application. Overexposure to the gel's curing process can lead to nail damage and weakening, so it's essential to prioritize nail health and maintenance. Frequent or improper use of gel kits can result in brittle nails, making it even more important to follow recommended usage guidelines.
What are the most common nail shape options for gel manicures?
Gel manicures offer various nail shape options to suit your style and preferences. The most common shapes include square, oval, almond, stiletto, and coffin. Square nails are characterized by their straight edges, while oval nails have softly rounded tips. Almond nails are narrower with a pointed tip, stiletto nails are long and pointed, and coffin nails are squared off with a tapered end. Your choice of nail shape should reflect your individual taste and comfort level. Feel free to experiment with different shapes to discover what best suits you.
How do I know when the gel nails are fully cured and ready to use?
You should follow specific steps and guidelines to determine when your gel nails are fully cured and ready for use. After applying each layer of gel polish and exposing it to the UV or LED lamp, allow it to set for the recommended time, typically 30-60 seconds. It's crucial to refer to the manufacturer's instructions for the specific curing times of your gel product. Avoid touching your nails until they are dry and have a glossy finish. This signifies that the curing process is complete, ensuring your manicure is long-lasting and resistant to smudging.

How do I achieve a French manicure with an at-home gel kit?
Creating a French manicure using a gel kit at home involves a step-by-step process. Start by applying a clear or light pink base coat to your nails. Then, use white gel polish for the tips, apply it with a steady hand, or employ nail guides for precise results. Cure the white tips under the UV or LED lamp to ensure they're fully set. Apply a clear topcoat to give your manicure a glossy finish. Afterward, cleanse your nails with rubbing alcohol to remove any sticky residue, providing a flawless look. Remember to moisturize your nails and cuticles to maintain their health and appearance.
Should I be concerned about the chemicals in gel nail products?
While gel nail products are generally safe when used as directed, it's essential to be aware of potential risks associated with their chemicals. Some individuals may develop sensitivities or allergies to these chemicals, including formaldehyde, toluene, and acetone. Always use gel products in a well-ventilated area to mitigate risks, and consider wearing protective gloves if you have sensitive skin. If you experience any adverse reactions, such as redness or irritation, discontinue use and consult a dermatologist.